The Asphalt Shingle Roof Installation Process Explained Step by Step
People searching for asphalt shingle roof installation often want to understand the process and find experienced local contractors who can expertly handle each step.
Understanding the asphalt shingle roof installation process explained step by step can provide property owners with valuable insight into what to expect when upgrading or replacing their roof. For those living in the area, this knowledge can help make informed decisions about working with local contractors who specialize in asphalt shingle roofing. Whether planning a new installation or a replacement, knowing the key stages involved can ensure the project runs smoothly and meets your property’s needs.
Property owners often explore this topic to better understand the scope of work involved, manage expectations, and ensure the work aligns with their goals. Local contractors who offer asphalt shingle roof installation services are equipped to guide clients through each phase, from initial preparation to final inspection. Continuing to read can help clarify how these professionals handle the process and what role they play in ensuring a durable, reliable roof for your property.
- Asphalt shingle roof installation - homeowners considering a roof upgrade can rely on local contractors to guide them through the detailed process step by step.
- New asphalt shingle roof setup - property owners replacing an aging roof will find local pros approach the installation with a comprehensive plan to ensure durability.
- Roof replacement with asphalt shingles - those needing to remove an existing roof and install new shingles can count on local service providers to handle each phase methodically.
- Residential asphalt shingle roofing - individuals building or renovating homes can connect with local pros experienced in the step-by-step installation process.
- Asphalt shingle roof installation services - clients seeking professional help for a detailed and proper installation process can find local contractors ready to assist.
When homeowners search for the asphalt shingle roof installation process explained step by step, they are typically seeking a clear understanding of what to expect when replacing or installing a roof with asphalt shingles. This topic often relates to plans for a roof upgrade, repair projects following damage, or new property construction. Many property owners want to know how the installation unfolds to ensure the work is done correctly and to understand the scope involved. The process is relevant for various types of properties, including single-family homes, multi-family residences, and small commercial buildings, where a durable and affordable roofing option like asphalt shingles is preferred.
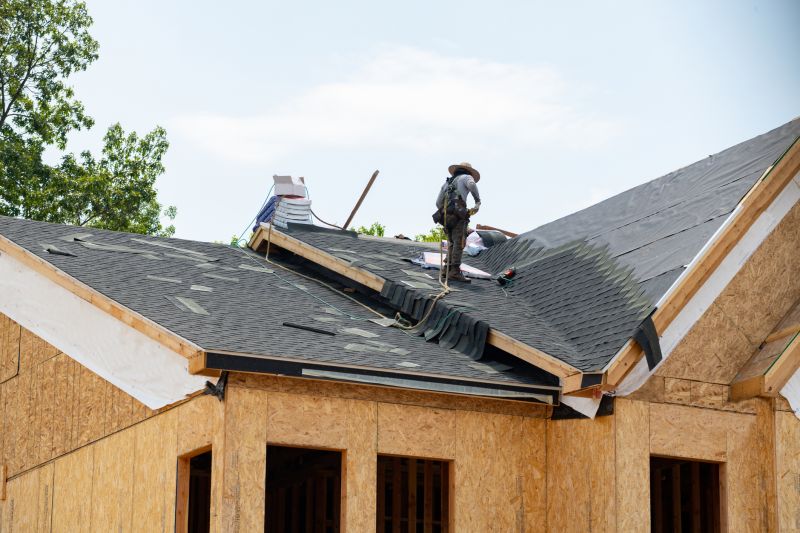
The asphalt shingle roof installation process generally involves several key stages that ensure a secure and long-lasting roof. It begins with a thorough assessment of the existing roof and the preparation of the underlying structure, including removing old roofing material if necessary. Next, local service providers focus on installing a solid roofing deck or reinforcing the existing one, which serves as the foundation for the new shingles. Proper ventilation, waterproofing, and insulation are also critical components during this phase to prevent future issues. Each step is designed to create a stable base for the shingles and ensure the roof performs well over time.
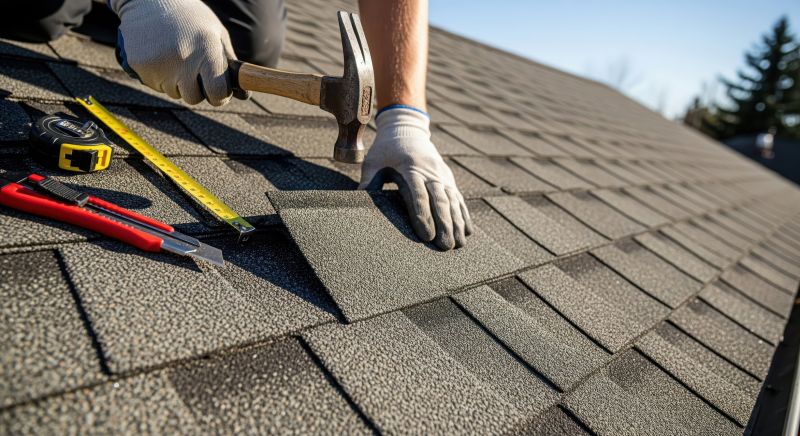
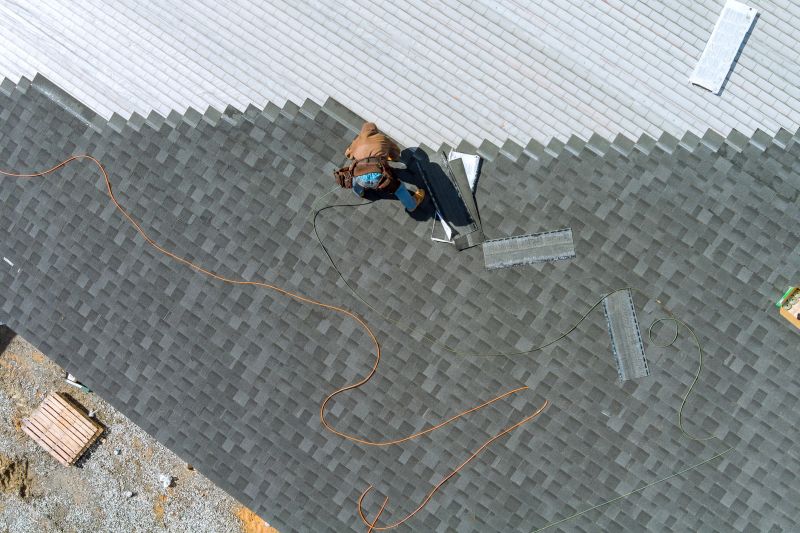
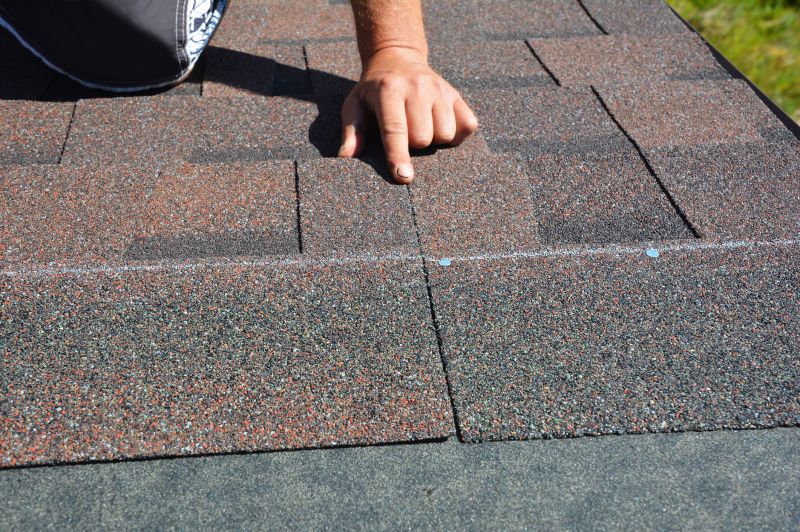
Following the preparation phase, the installation of the asphalt shingles themselves is carried out systematically. This involves laying out the shingles in overlapping rows, starting from the bottom edge of the roof and working upward to ensure proper water runoff. Local contractors pay close attention to aligning the shingles correctly, securing them with nails or staples, and sealing the edges to prevent wind uplift or leaks. Additional components such as flashing around chimneys, vents, or skylights are installed to enhance the roof’s waterproofing. Every step is essential for achieving a finished roof that is both aesthetically pleasing and capable of protecting the property from the elements.
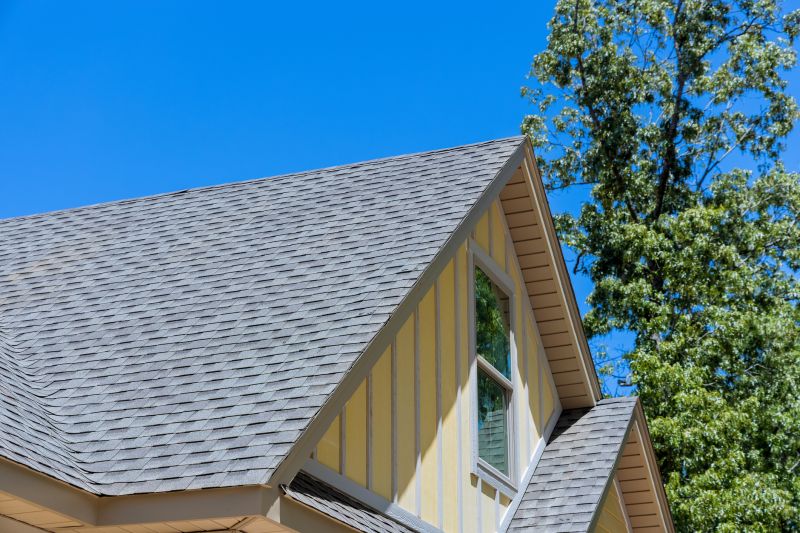
Once the shingles are installed, the process concludes with a thorough inspection by the service provider. They verify that all shingles are properly aligned, secured, and sealed, and that flashing and other accessories are correctly installed. This final check helps identify any potential issues before the project is considered complete. Homeowners can then expect a durable, weather-resistant roof that enhances the property's value and appearance. Local pros specializing in asphalt shingle roof installation are equipped to handle each stage of this process, ensuring the project meets quality standards and aligns with the specific needs of the property.
Roof Deck Preparation - this project involves inspecting and preparing the roof deck, a skill shared with asphalt shingle roof installation to ensure a solid foundation for roofing materials.
Flashing and Waterproofing - installing flashing and waterproofing barriers is a key step in both projects to prevent water intrusion and protect the structure.
Roofing Material Installation - applying roofing materials, whether shingles or other options, requires similar planning, tools, and techniques used in asphalt shingle roof installation.
Ventilation System Setup - ensuring proper attic ventilation is crucial in many roofing projects, including shingle installations, to promote airflow and prolong roof life.
Roof Inspection and Quality Check - thorough inspection and quality assessment are common to many roofing projects, helping local contractors ensure durability and performance.
Gutter and Drainage System Installation - installing gutters and drainage systems complements roofing work and is often coordinated alongside asphalt shingle roof installation services.
When evaluating service providers for asphalt shingle roof installation, it’s important to consider their experience with similar projects. Homeowners should inquire about the types of roofing jobs the contractors have completed and whether they have handled projects comparable in size and complexity. An experienced contractor will be familiar with the specific steps involved in the asphalt shingle roof installation process explained step by step, ensuring that they understand all aspects of the project from preparation to final inspection. This familiarity can contribute to smoother execution and help prevent common issues that may arise during installation.
Clear written expectations are essential when comparing local contractors. Homeowners should seek detailed proposals that outline the scope of work, materials to be used, and the sequence of installation steps. Having this information in writing helps establish mutual understanding and provides a reference point throughout the project. It also ensures that both parties are aligned on what is included and what is not, reducing the potential for misunderstandings. Contractors who communicate openly and provide thorough documentation demonstrate professionalism and a commitment to transparency, which can be valuable during the comparison process.
Reputable references and good communication are key indicators of a reliable service provider. Homeowners should ask for references from previous clients who have had similar asphalt shingle roof projects completed. Speaking with past customers can offer insights into the contractor’s work ethic, adherence to schedules, and quality of workmanship. Additionally, effective communication-such as prompt responses to questions and clarity in explanations-can make the entire process more manageable. Choosing a contractor who maintains open lines of communication and has positive references can help ensure that the project proceeds smoothly and meets expectations from start to finish.
Property owners often search for the asphalt shingle roof installation process explained step by step when they are planning practical projects around their homes and businesses. Local pros provide Asphalt Shingle Roof Installation services for everyday jobs and straightforward project options.
Understanding the asphalt shingle roof installation process explained step by step can help property owners in the area make informed decisions when considering a roof replacement. Homeowners often seek this information to better grasp what the project entails, especially if they are planning to work with local contractors. Typically, the process involves several key stages, including removing the old roofing material, preparing the roof deck, installing underlayment, and then laying down the new asphalt shingles. Knowing these steps can provide reassurance about what to expect during the project and highlight the importance of hiring experienced local contractors who can handle each phase efficiently.
Many property owners look up this topic to ensure their new roof is installed correctly and to understand the scope of work involved. Local service providers can help manage each step, from assessing the existing roof to completing the final shingle installation. This knowledge also assists homeowners in asking the right questions and verifying that the work aligns with standard practices. When considering asphalt shingle roof installation services, connecting with reputable local contractors can ensure the process is carried out smoothly and professionally, providing long-lasting results for the home.
What are the main steps involved in the asphalt shingle roof installation process explained step by step? The process typically includes removing the existing roof, inspecting and preparing the roof deck, installing underlayment, laying the asphalt shingles, and finishing with proper sealing and flashing. Local contractors follow these steps to ensure a durable and properly installed roof.
How do local service providers prepare for installing asphalt shingles? They start by inspecting the existing roof structure, making necessary repairs, and ensuring the roof deck is clean and secure before beginning the installation of underlayment and shingles.
What materials are used during the asphalt shingle roof installation process? Common materials include asphalt shingles, underlayment, roofing nails, flashing, and sealant. Local pros select quality materials suited for the specific roof and climate conditions.
Why is proper installation important in the asphalt shingle roof installation process explained step by step? Proper installation ensures the roof is weather-resistant, long-lasting, and minimizes the risk of leaks or damage, which is why experienced local contractors follow best practices during each step.
How do local contractors ensure the asphalt shingle roof installation process is completed correctly? They adhere to manufacturer guidelines, use appropriate tools, and follow established procedures for each phase, from removal to final inspection, to deliver a quality roof installation.
Understanding roof inspection and preparation - property owners can learn how local contractors assess existing roofing conditions to ensure a proper installation.
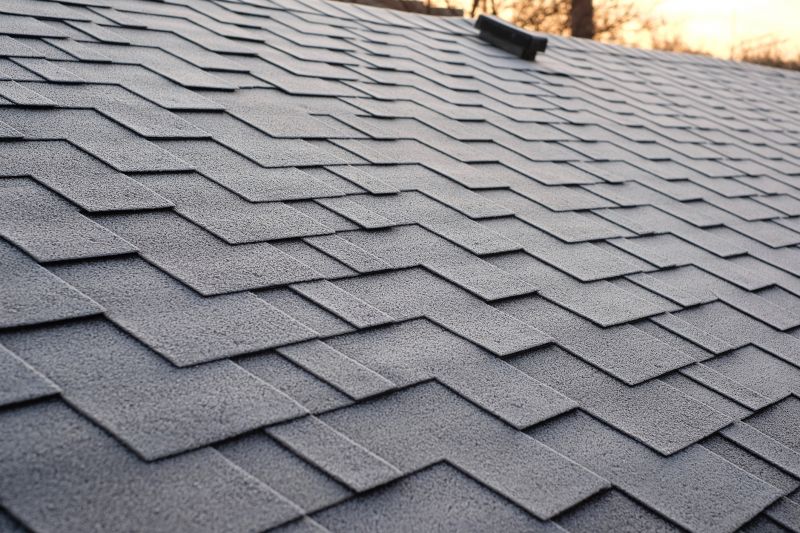
Selecting the right asphalt shingles - choosing durable and suitable shingle styles can enhance the longevity and appearance of the new roof.
Learning about installation steps - familiarizing with the process helps property owners understand what to expect during the roofing project.
Recognizing post-installation care - knowing how to maintain and inspect the new roof can help prolong its lifespan with the help of local service providers.
If you are thinking about the asphalt shingle roof installation process explained step by step for a property, this guide is meant to help you understand this topic, the typical project types, and how different options might fit your plans.
When you are ready, you can use the quote form on this page to share a few details about your project. From there, local pros can review the basics and follow up with options that match what you have in mind.